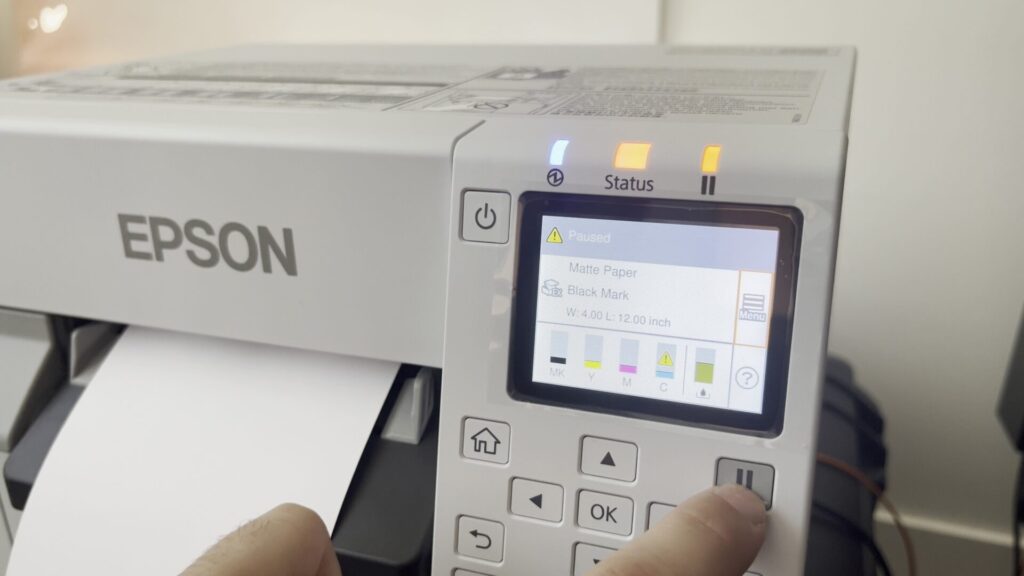
At this stage, the printer has been turned on and paper has been loaded. Next, we will double check several settings related to paper size and format.
Enter the printer menu by pressing the right arrow, to select Menu on the screen. It will be highlighted in orange.
Press OK to enter the menu and navigate using the arrows and the OK / back button.
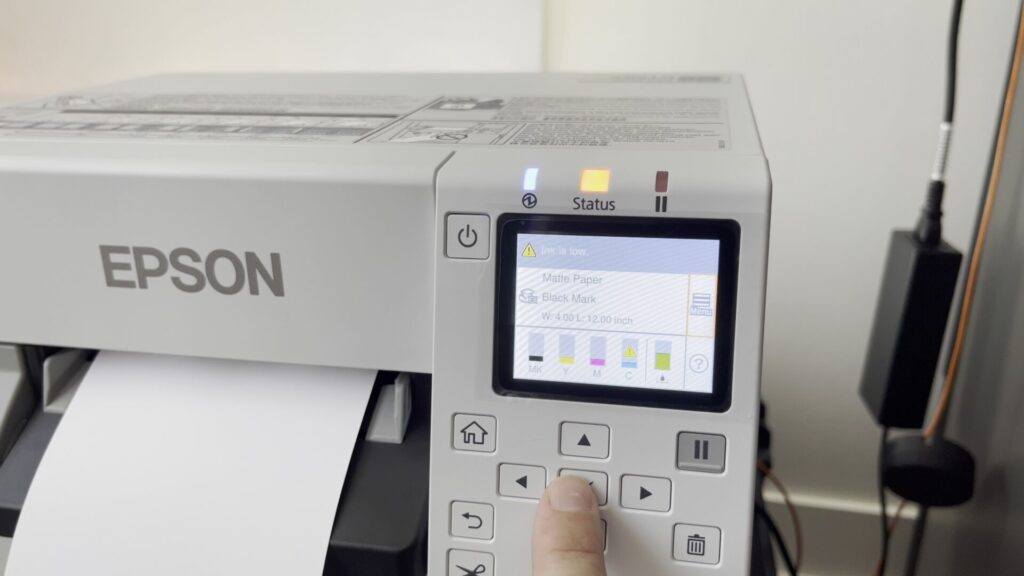
Media Layout: Navigate to the Media Layout section. The dimensions must be set to 4x12inches, with a 0 gap between labels.


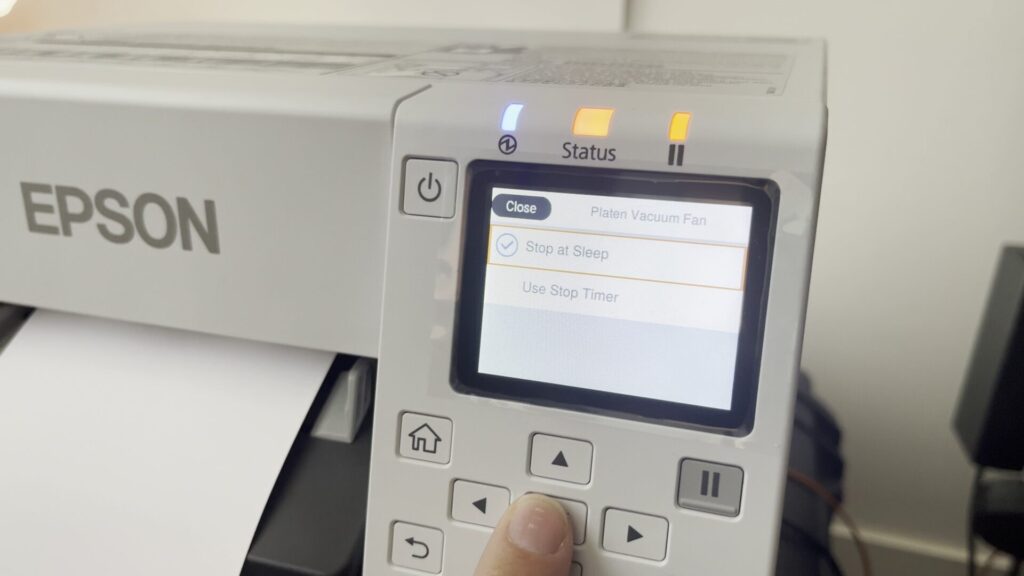
Next, we will adjust the Platen Vacuum Fan settings. This is what pulls the badge paper flat, to ensure a good quality print, and badges that are 100% dry to the touch when it comes out.
Go to General Settings and navigate to the Basic Settings Submenu. In the basic settings submenu, go to Platen Vacuum Fan and set it to “stop at sleep”.
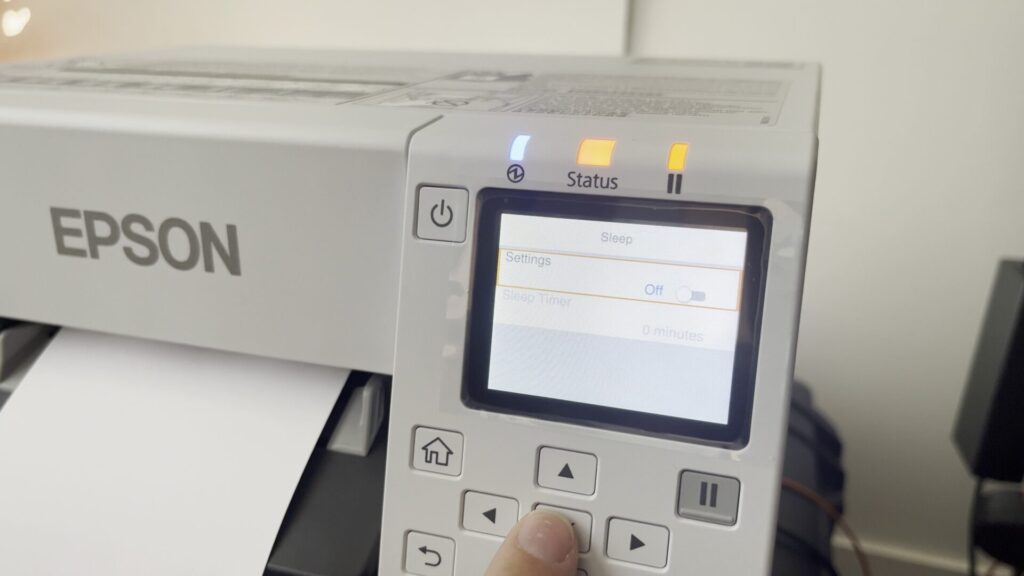
After that, navigate to the Sleep settings, and turn sleep off entirely.
ℹ️This keeps the fan constantly running, which prevents the ramp-up time that occurs when the fan starts spinning up between prints. It saves about 1 second per print.
Final checks: Once all settings are done, make sure the printer is not set to Pause. If it is, just press the Pause button to make sure it is ready to go